Can tissue testing help you push corn yields higher?
Corn Corner: Where tissue testing might fit in your corn program.
Apr 29, 2020
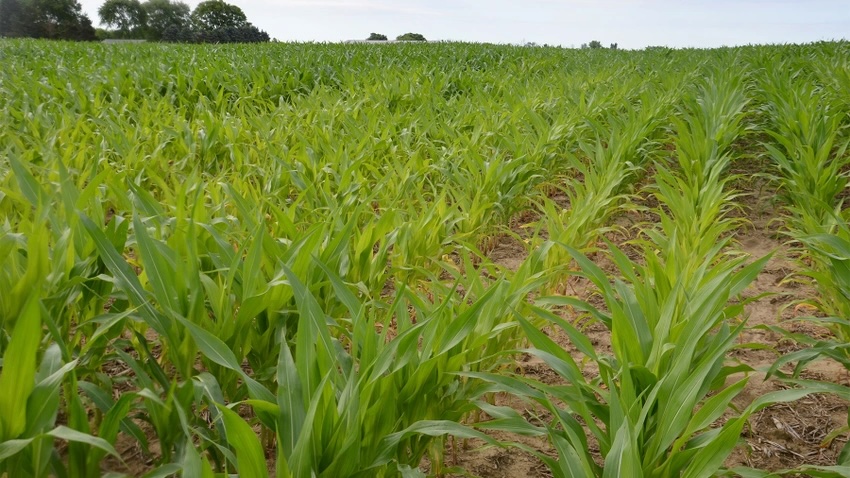
My goal is pushing corn yields higher. A friend suggests pulling tissue tests to check for micronutrients. When should I test? How do I sample? Is it worth the cost?
The Indiana certified crop advisers panel answering this question includes Betsy Bower, agronomist with Ceres Solutions, Terre Haute; Jesse Grogan, regional manager at AgReliant Genetics LLC, Lafayette; and Stan Miles, agronomist with A&L Great Lakes Laboratories, Fort Wayne.
Bower: Tissue testing can be a powerful tool to allow you to understand what nutrition the crop finds in the soil at any time. Tissue testing can also lead to many questions.
Start around V5, when the secondary root system starts fully functioning. Then you can get a pretty good picture of plant sufficiency of macro- and micronutrients. With a two-day turnaround for results, you have time to apply any needed micronutrients, provided macronutrient plant levels are good. Where I consult, typically nitrogen, phosphorus, potassium, magnesium, calcium and sulfur are good, but zinc, boron and manganese can be responsive or deficient.
Continue tissue testing either every week to take a deep dive — or at least three times. For a minimal look, sample at V5, sometime between V9 and V12, and at early R1.
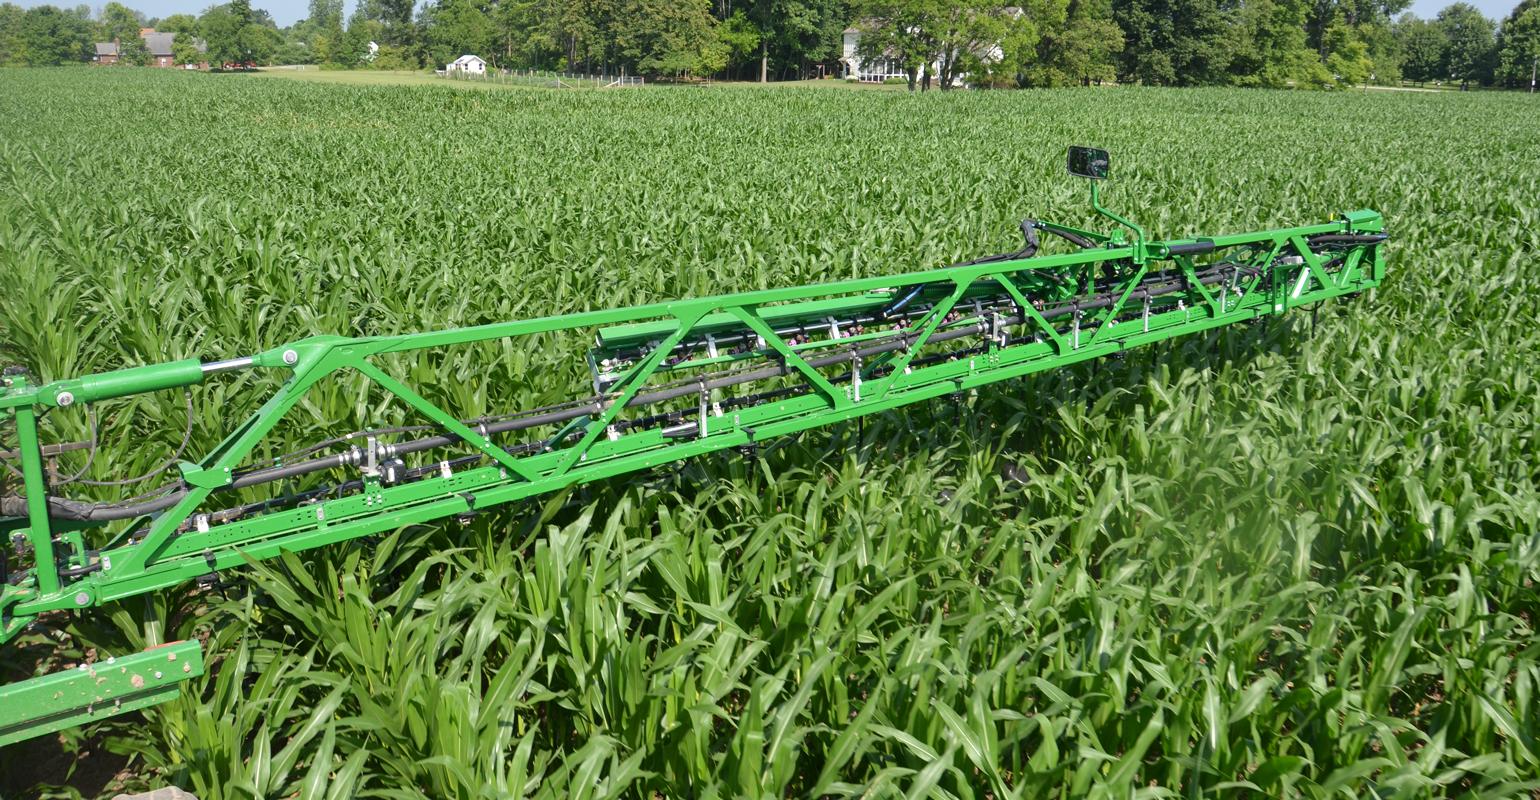
Collect 25 to 30 leaves of the uppermost collared leaf from a 300-foot-diameter area. Note the growth stage on the tissue test form. You need enough tissue to make a softball-sized ball of leaves.
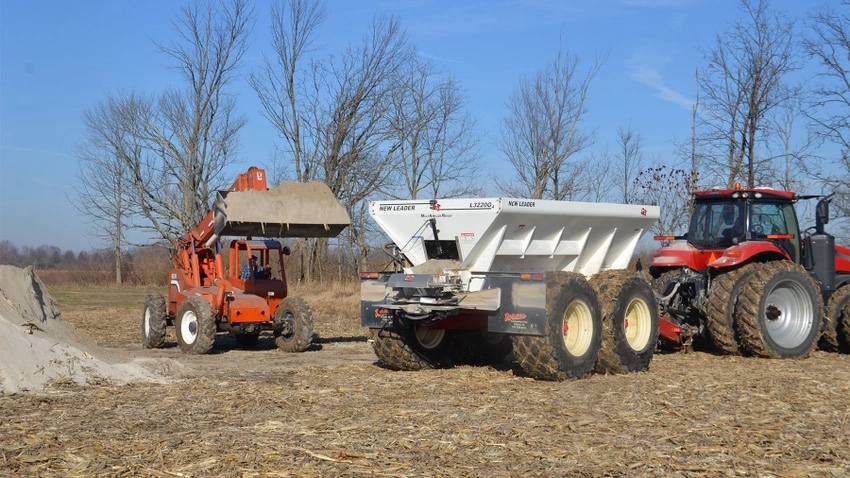
Cost is typically $25 or less per sample. Weekly sampling of eight tissue samples would cost around $200, a minimal investment to start learning about the adequacy of your nutrition program.
Grogan: Tissue testing for micronutrients should be used with caution. It can be challenging due to variations in sample timing, weather, different hybrids or disease levels. Usually, a good supply of micronutrients is present. There is more chance for deficiency in coarse sands or tight clays. Contact your tissue sampling lab for its sample protocol before collection. Collect samples from good areas to compare with poor areas. Whole plants are required in the early season. Cut corn plants up to the V5 to V6 stage 1 inch aboveground. Samples at the silking stage should be the leaf below the ear. Tissue testing is most useful, prior to sidedress and tassel before the onset of grain fill. Use tissue from at least 10 plants per sample. Avoid delivery over the weekend. Use paper bags designed for tissue sampling. The value for tissue tests is better for potassium and phosphorus, which have consistent interpretation data. It’s always a good strategy to maintain adequate levels of major nutrients like nitrogen, potassium, phosphorus and sulfur.
Miles: When tissue analysis is used to maximize agronomic yield, sampling should begin around V4 and continue weekly or biweekly through R2, or blister stage. Early-season sampling of plants less than 12 inches high may have limited value.
When sampling plants greater that 12 inches in height through silking, collect the uppermost leaf with a collar, and include 15 leaves per sample. When silks emerge, move downward to the ear leaf and collect 15 leaves per sample. Stop sampling about two weeks beyond silking.
A sampling plan conducted on a consistent schedule can track nutrient uptake. After harvest, this dataset can be used to identify possible yield-limiting factors that can be addressed through future management.